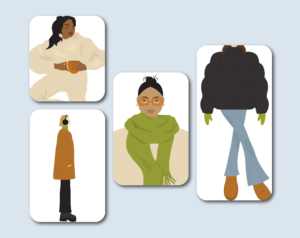
With all the changes that happen in fall, changing your wardrobe just seems natural. But if you’re on a budget it can be hard to find affordable new clothes. Lucky for you, everything you need for a fresh fall wardrobe is already in your closet! Below are a few ways you can reinvent your old clothes into something new.
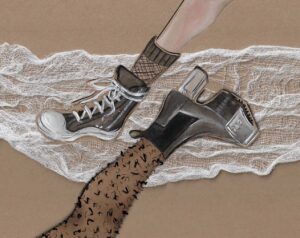
Painted Jeans
If you’ve got a plain old pair of jeans lying around just begging to be upgraded, this is the DIY for you!
What you’ll need:
- Fabric paints (in colours of your choice)
- Stencils (optional)
- Cardboard
- Jeans
Place the piece of cardboard inside the part of your jeans you will be painting so the paint doesn’t seep through to the other side. Now all you have to do is paint a design of your choice onto the denim using fabric paint. Get creative! You can use a stencil or masking tape for this step if you want a more precise design, or you can just freehand it. Wait for the paint to dry completely and then rock your new pair of custom jeans!
*To wash make sure the jeans are turned inside out, then wash in cold water and hang to dry*
Design Inspiration:


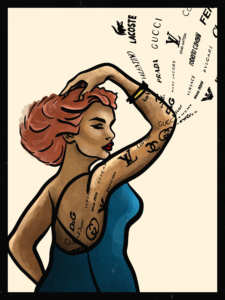
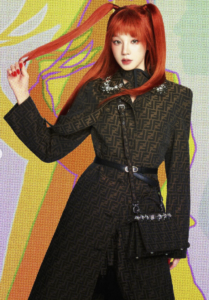
Embroidered Jacket
This is a super customizable option for elevating your wardrobe. You can use whatever design or image you want and no matter what the result it’ll be something totally unique!
What you’ll need:
- Embroidery thread
- Sewing needle
- An image or word to be embroidered (printed as an outline on any regular printer paper)
- Jacket (or any clothing item you want to embellish)
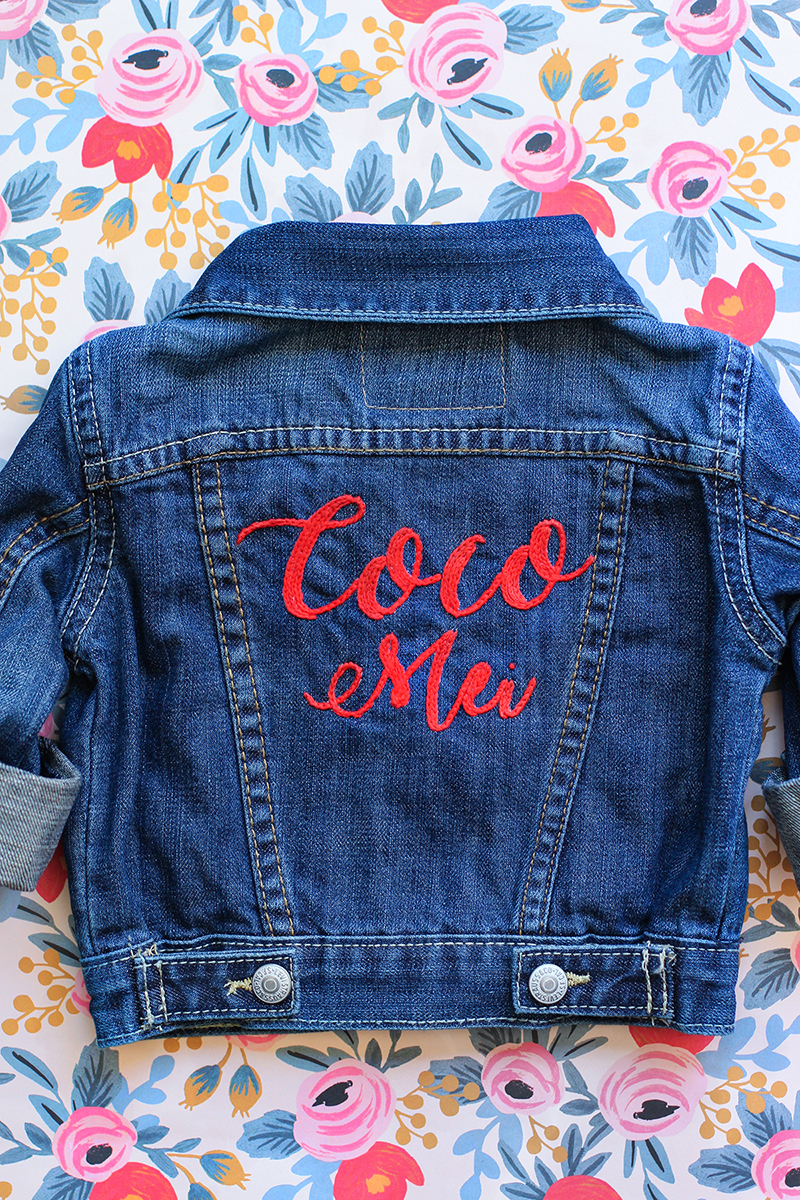
Pin your printed image onto your jacket where you want it to be. Try to choose an image that isn’t too complicated — simple lines are best. Thread the needle with your embroidery thread (make sure to tie a knot into one end of the thread!) and starting at a corner of the image work your way around the paper, sewing small loops one after the other. Keep the beginning of one loop as close to the end of the previous loop as possible to create a continuous line. When you’ve finished sewing, tie a knot in the end of the thread and then gently pull away the paper (you may have to use scissors).


*If your garment is made from a lighter weight fabric you may want to sew your design with a piece of felt behind it to stabilize the image*
Design Inspiration:
")

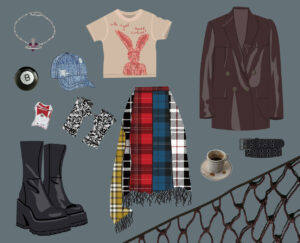
Fringe Cardigan
This DIY works great on an old sweater that’s become a bit boring. Spruce it up with a line of fringe made from an interesting yarn!
What you’ll need:
- Crochet hook (you can get these at dollar stores or thrift stores for extremely cheap)
- Yarn
- Knit cardigan or sweater
- Cardboard of the approximate length you would like your fringe
Wrap your yarn around the cardboard lengthwise. Cut all of the pieces together at one point so you end up with a bunch of equal-sized yarn pieces. Lay your sweater flat onto your work surface. Decide where you would like your tassels to be placed — popular placements include along the underside of the sleeve, or in two symmetrical lines down the back or front, but placement is really up to you! To make the fringe, take a group of your cut yarns (3-5 depending on how big you want your tassels) and fold them all in half creating a loop. Using your crochet hook, hook under one stitch on your sweater and then pick up the loop you created with your yarn pieces. Pull this loop back under the stitch just enough to create an opening and then bring the loose ends of the yarn pieces back through the loop to tie a knot. Repeat this evenly every 5 or 6 stitches to create a pattern of tassels. After all the tassels are attached go back and trim them all to the same length.
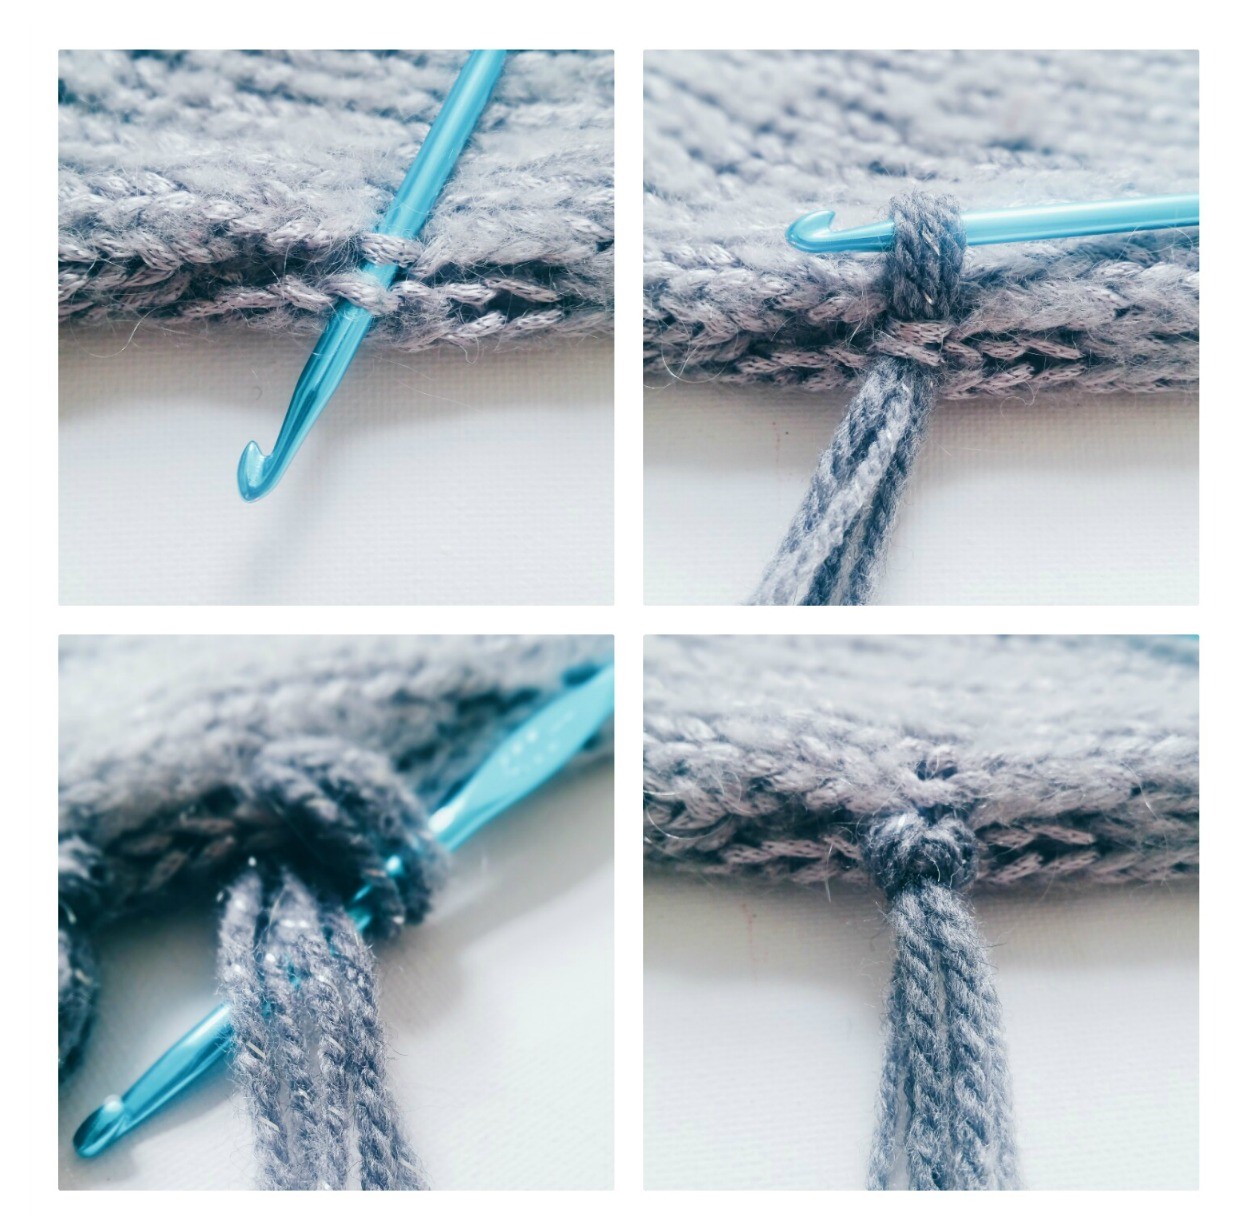
Design Inspiration:
")
")
And there you have it! Three cheap & fun ways to spruce up your fall wardrobe.
*Feature graphic created by Naomi Brearley