
Searching for a quick and easy way to revamp an old t-shirt? Look no further! StyleCircle’s T-Shirt Bag DIY will guide you through the simple steps and have you well on your way to a unique new tote bag that could be a practical personal treat or a generous homemade gift.
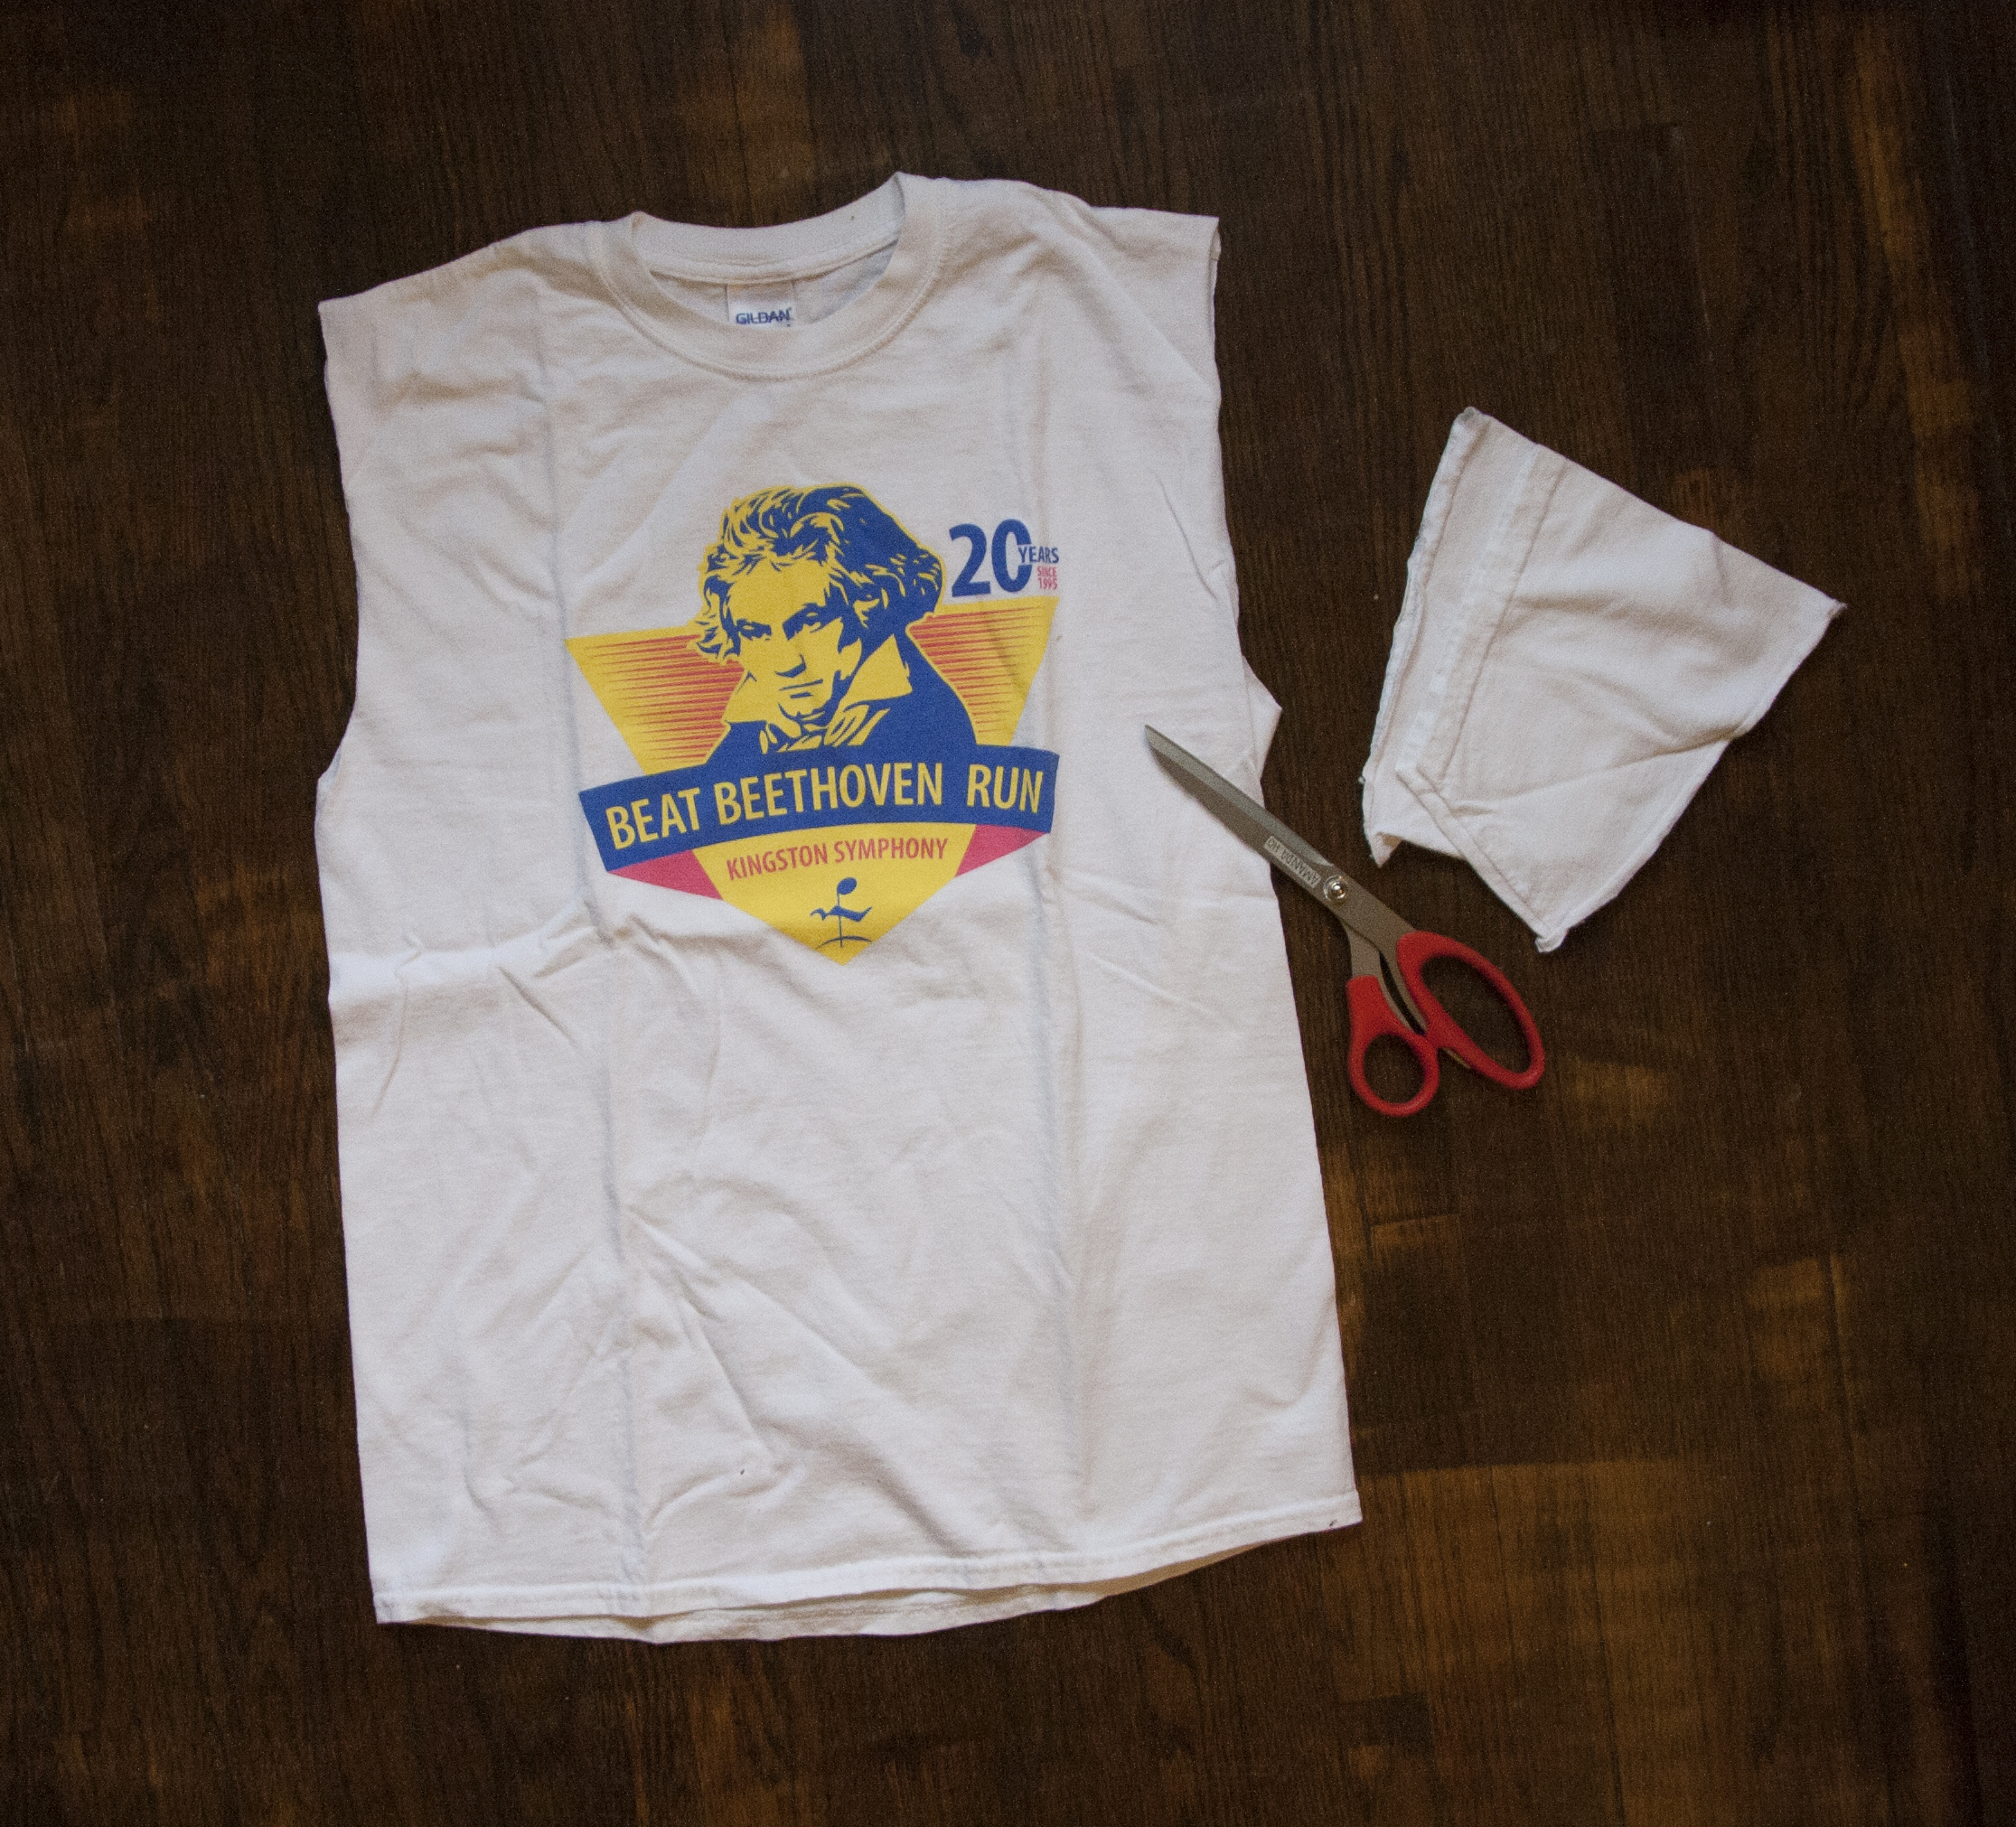
Step 1: Choose your t-shirt. We went with an old oversized one, but you can use whatever you have!

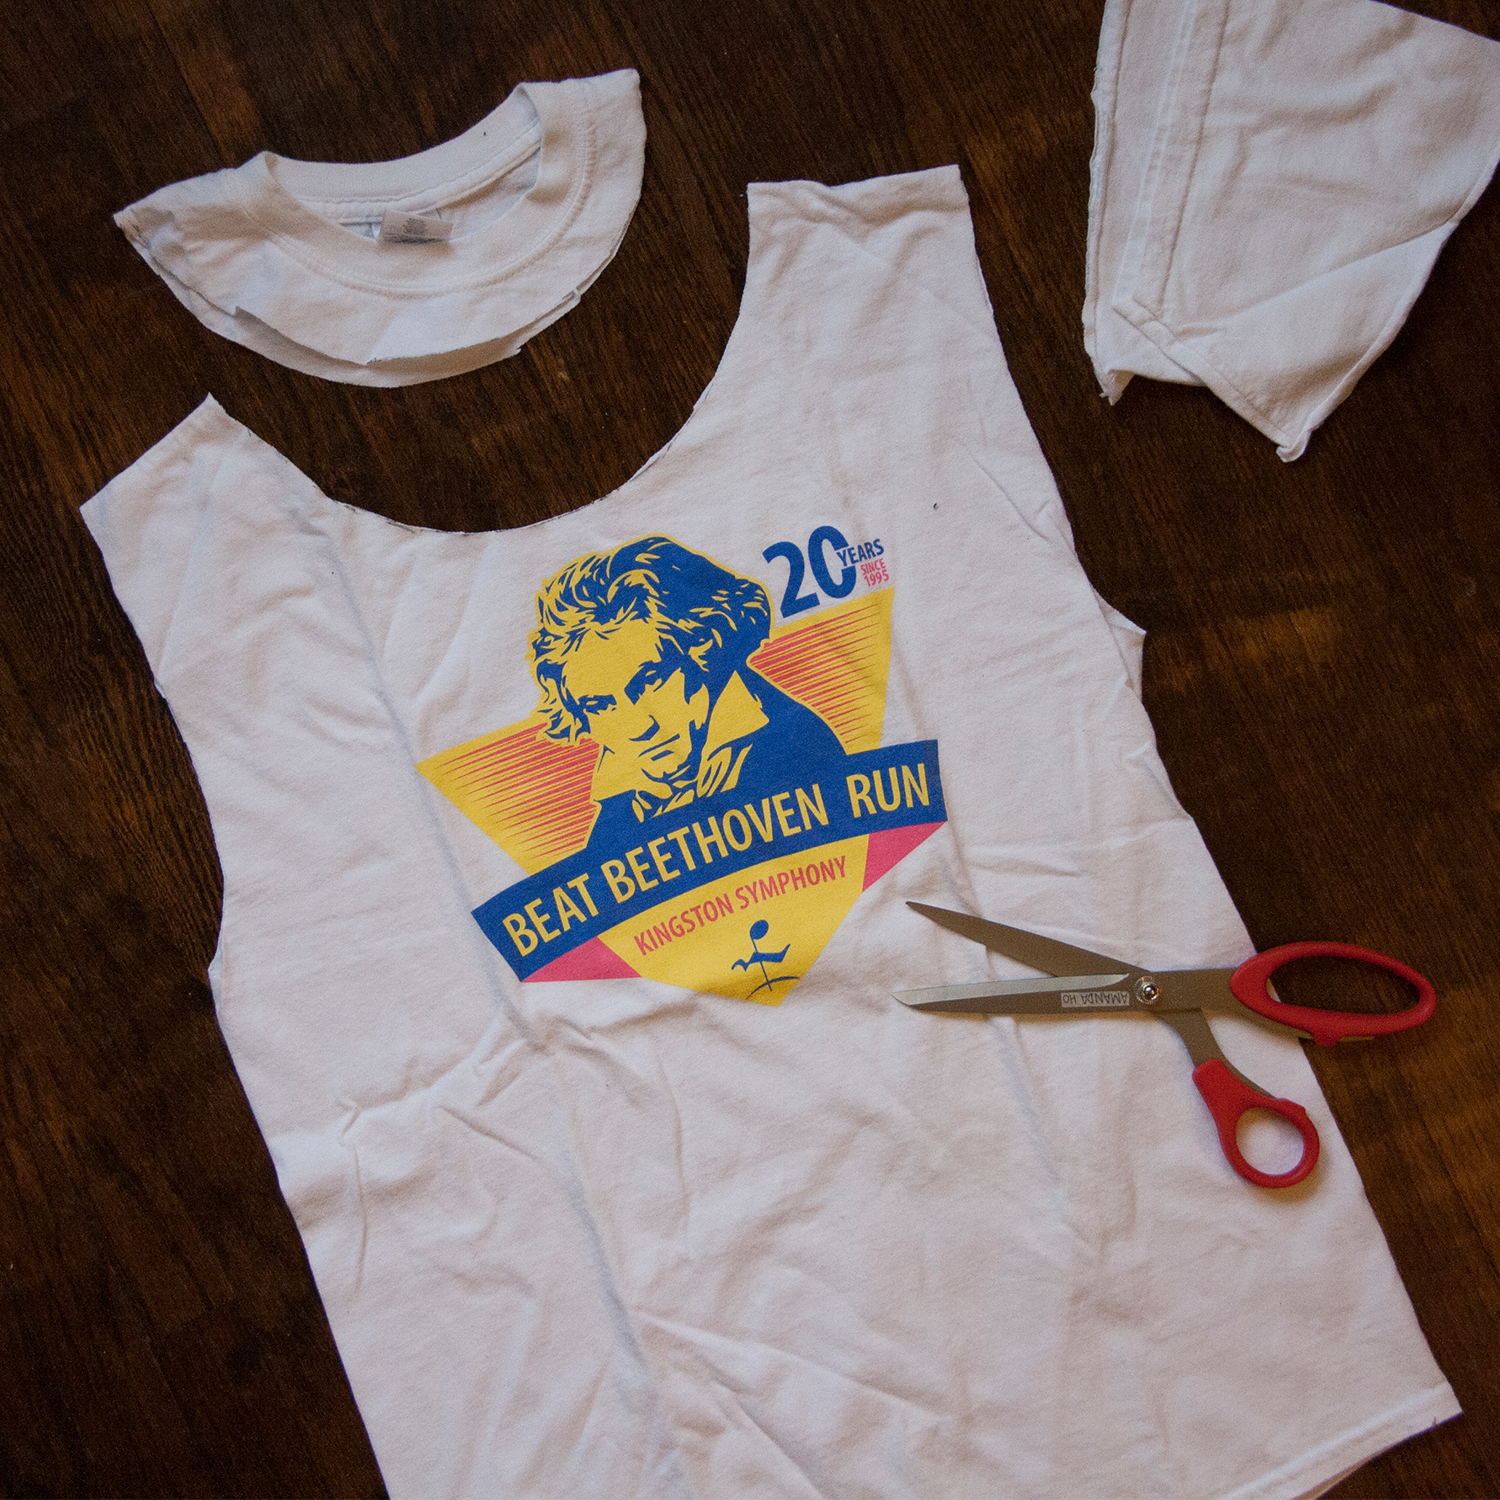
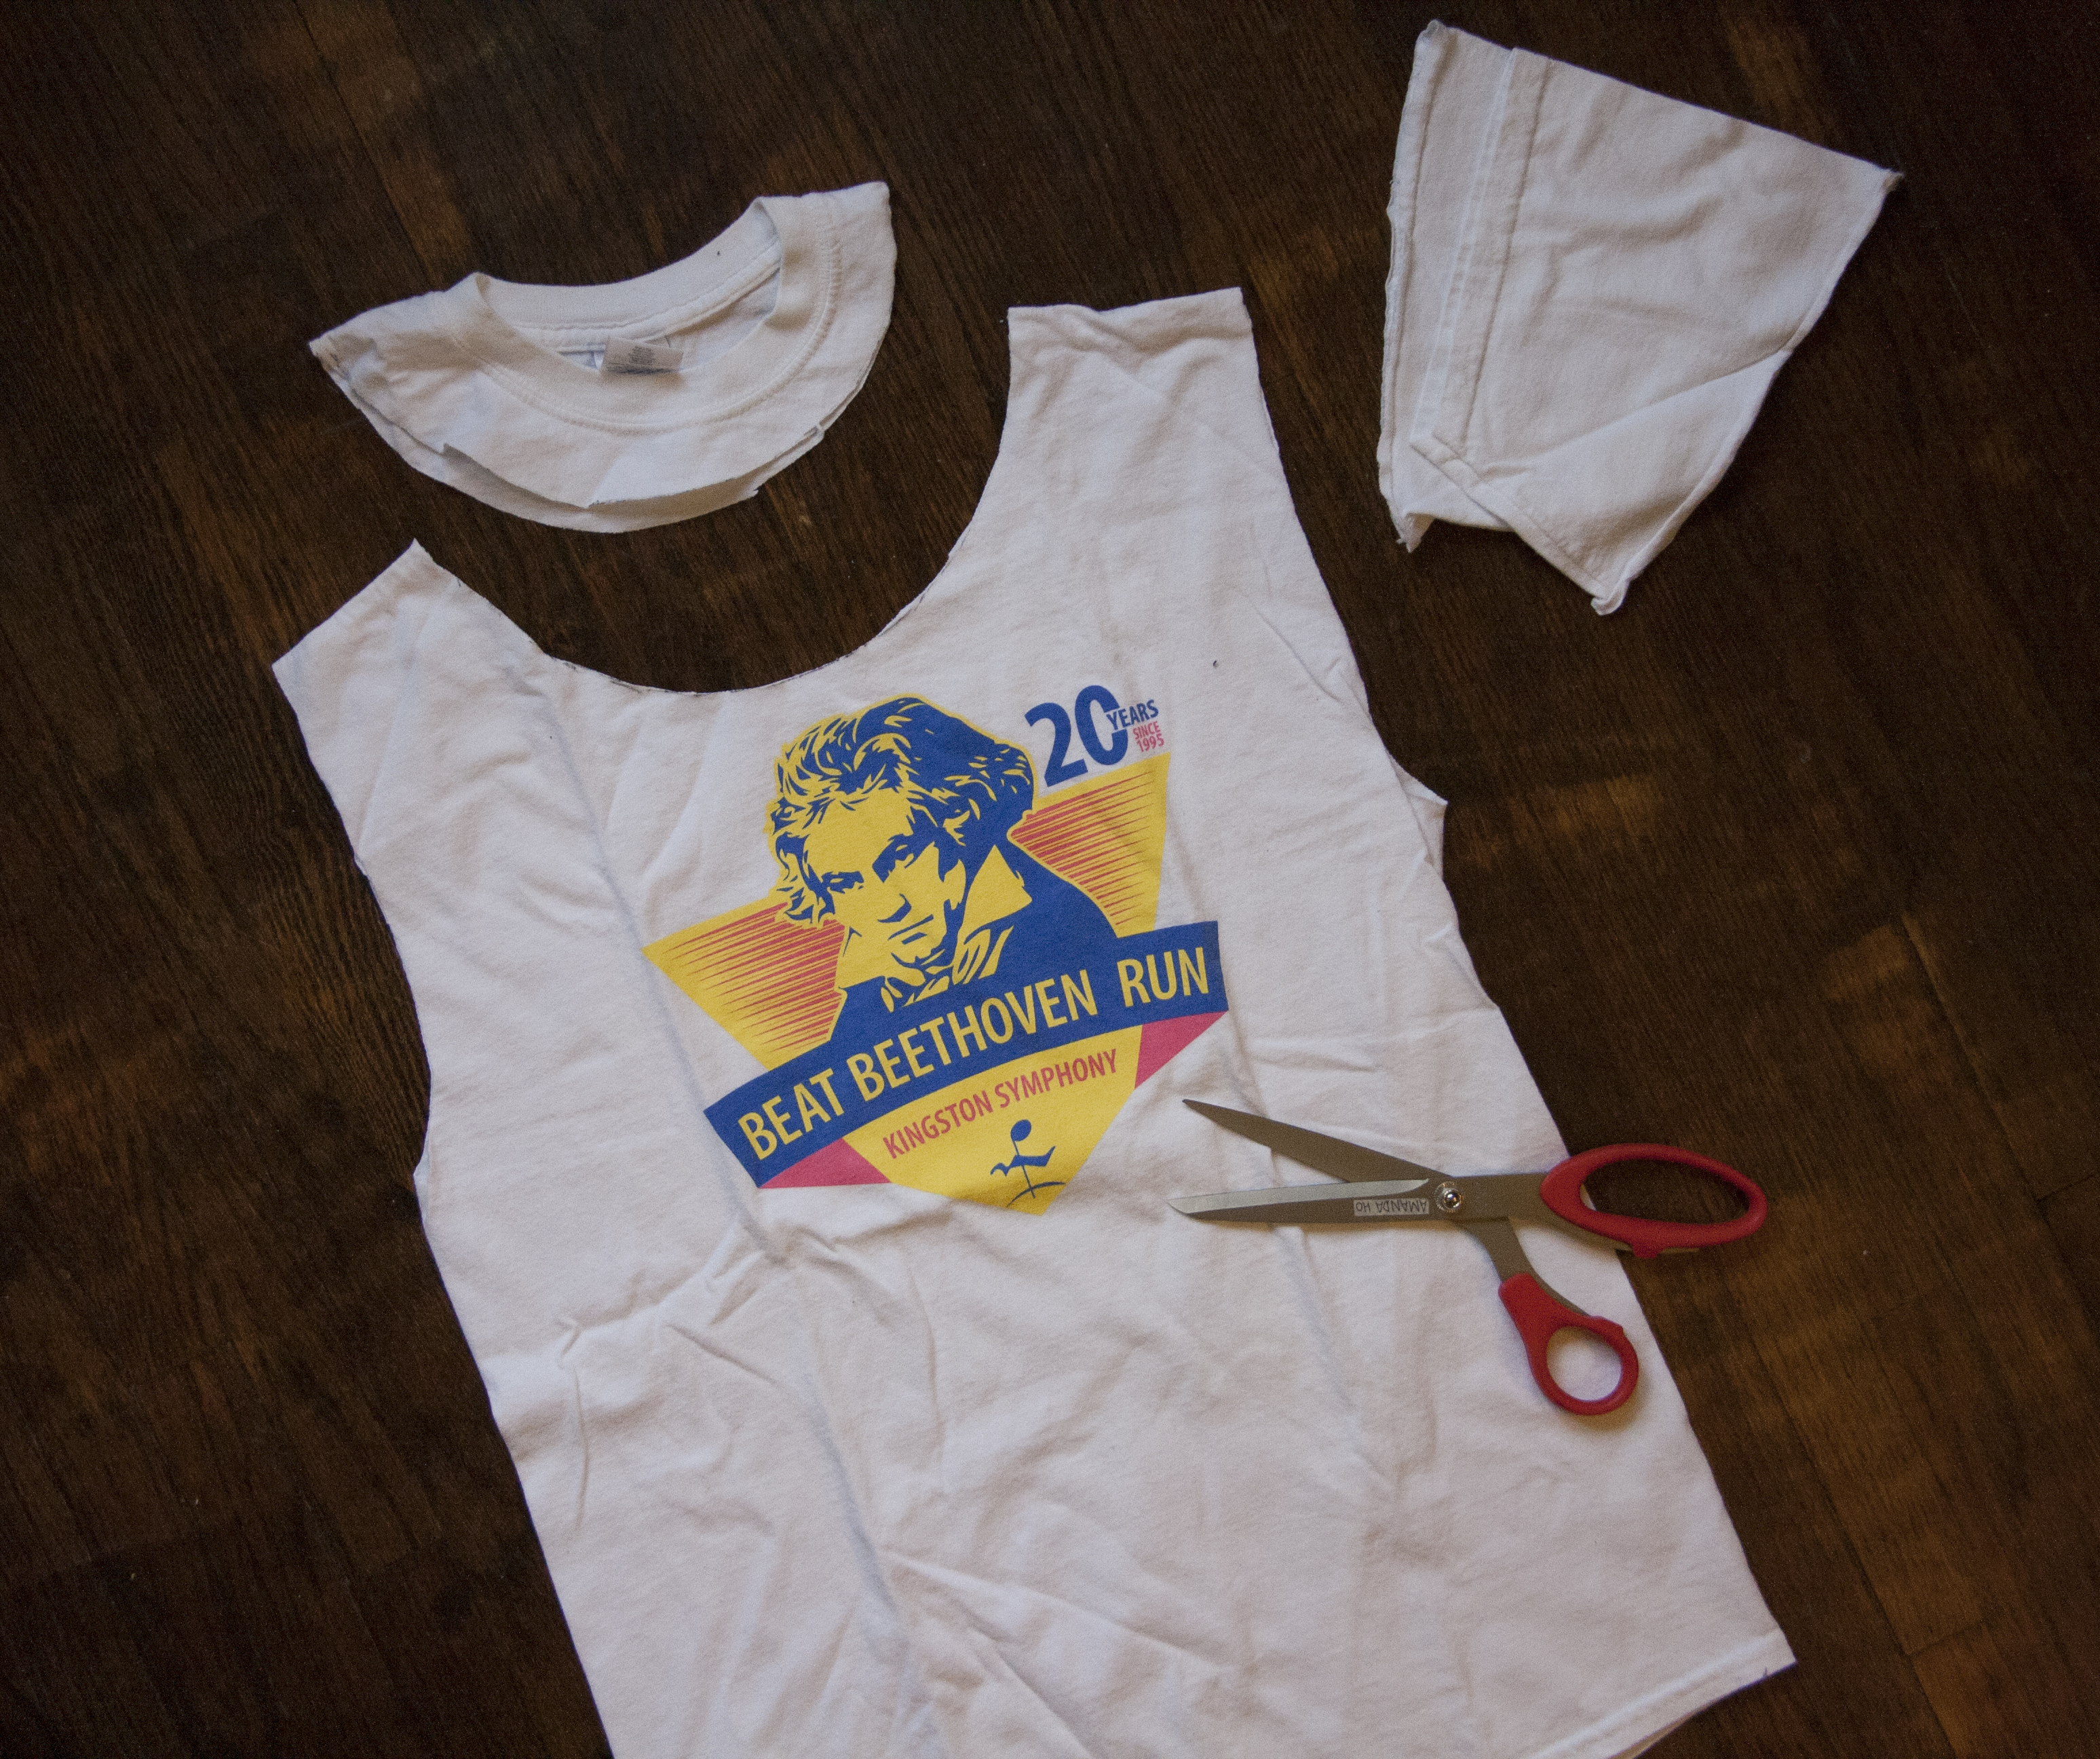
Step 2: Cut off the sleeves. This will determine the strap width, so plan accordingly.
Step 3: Using a bowl, cut the neckline of the shirt. This will create the tote’s opening so make sure it is large enough to accommodate what you intend the bag to hold.

This is what you should have so far:
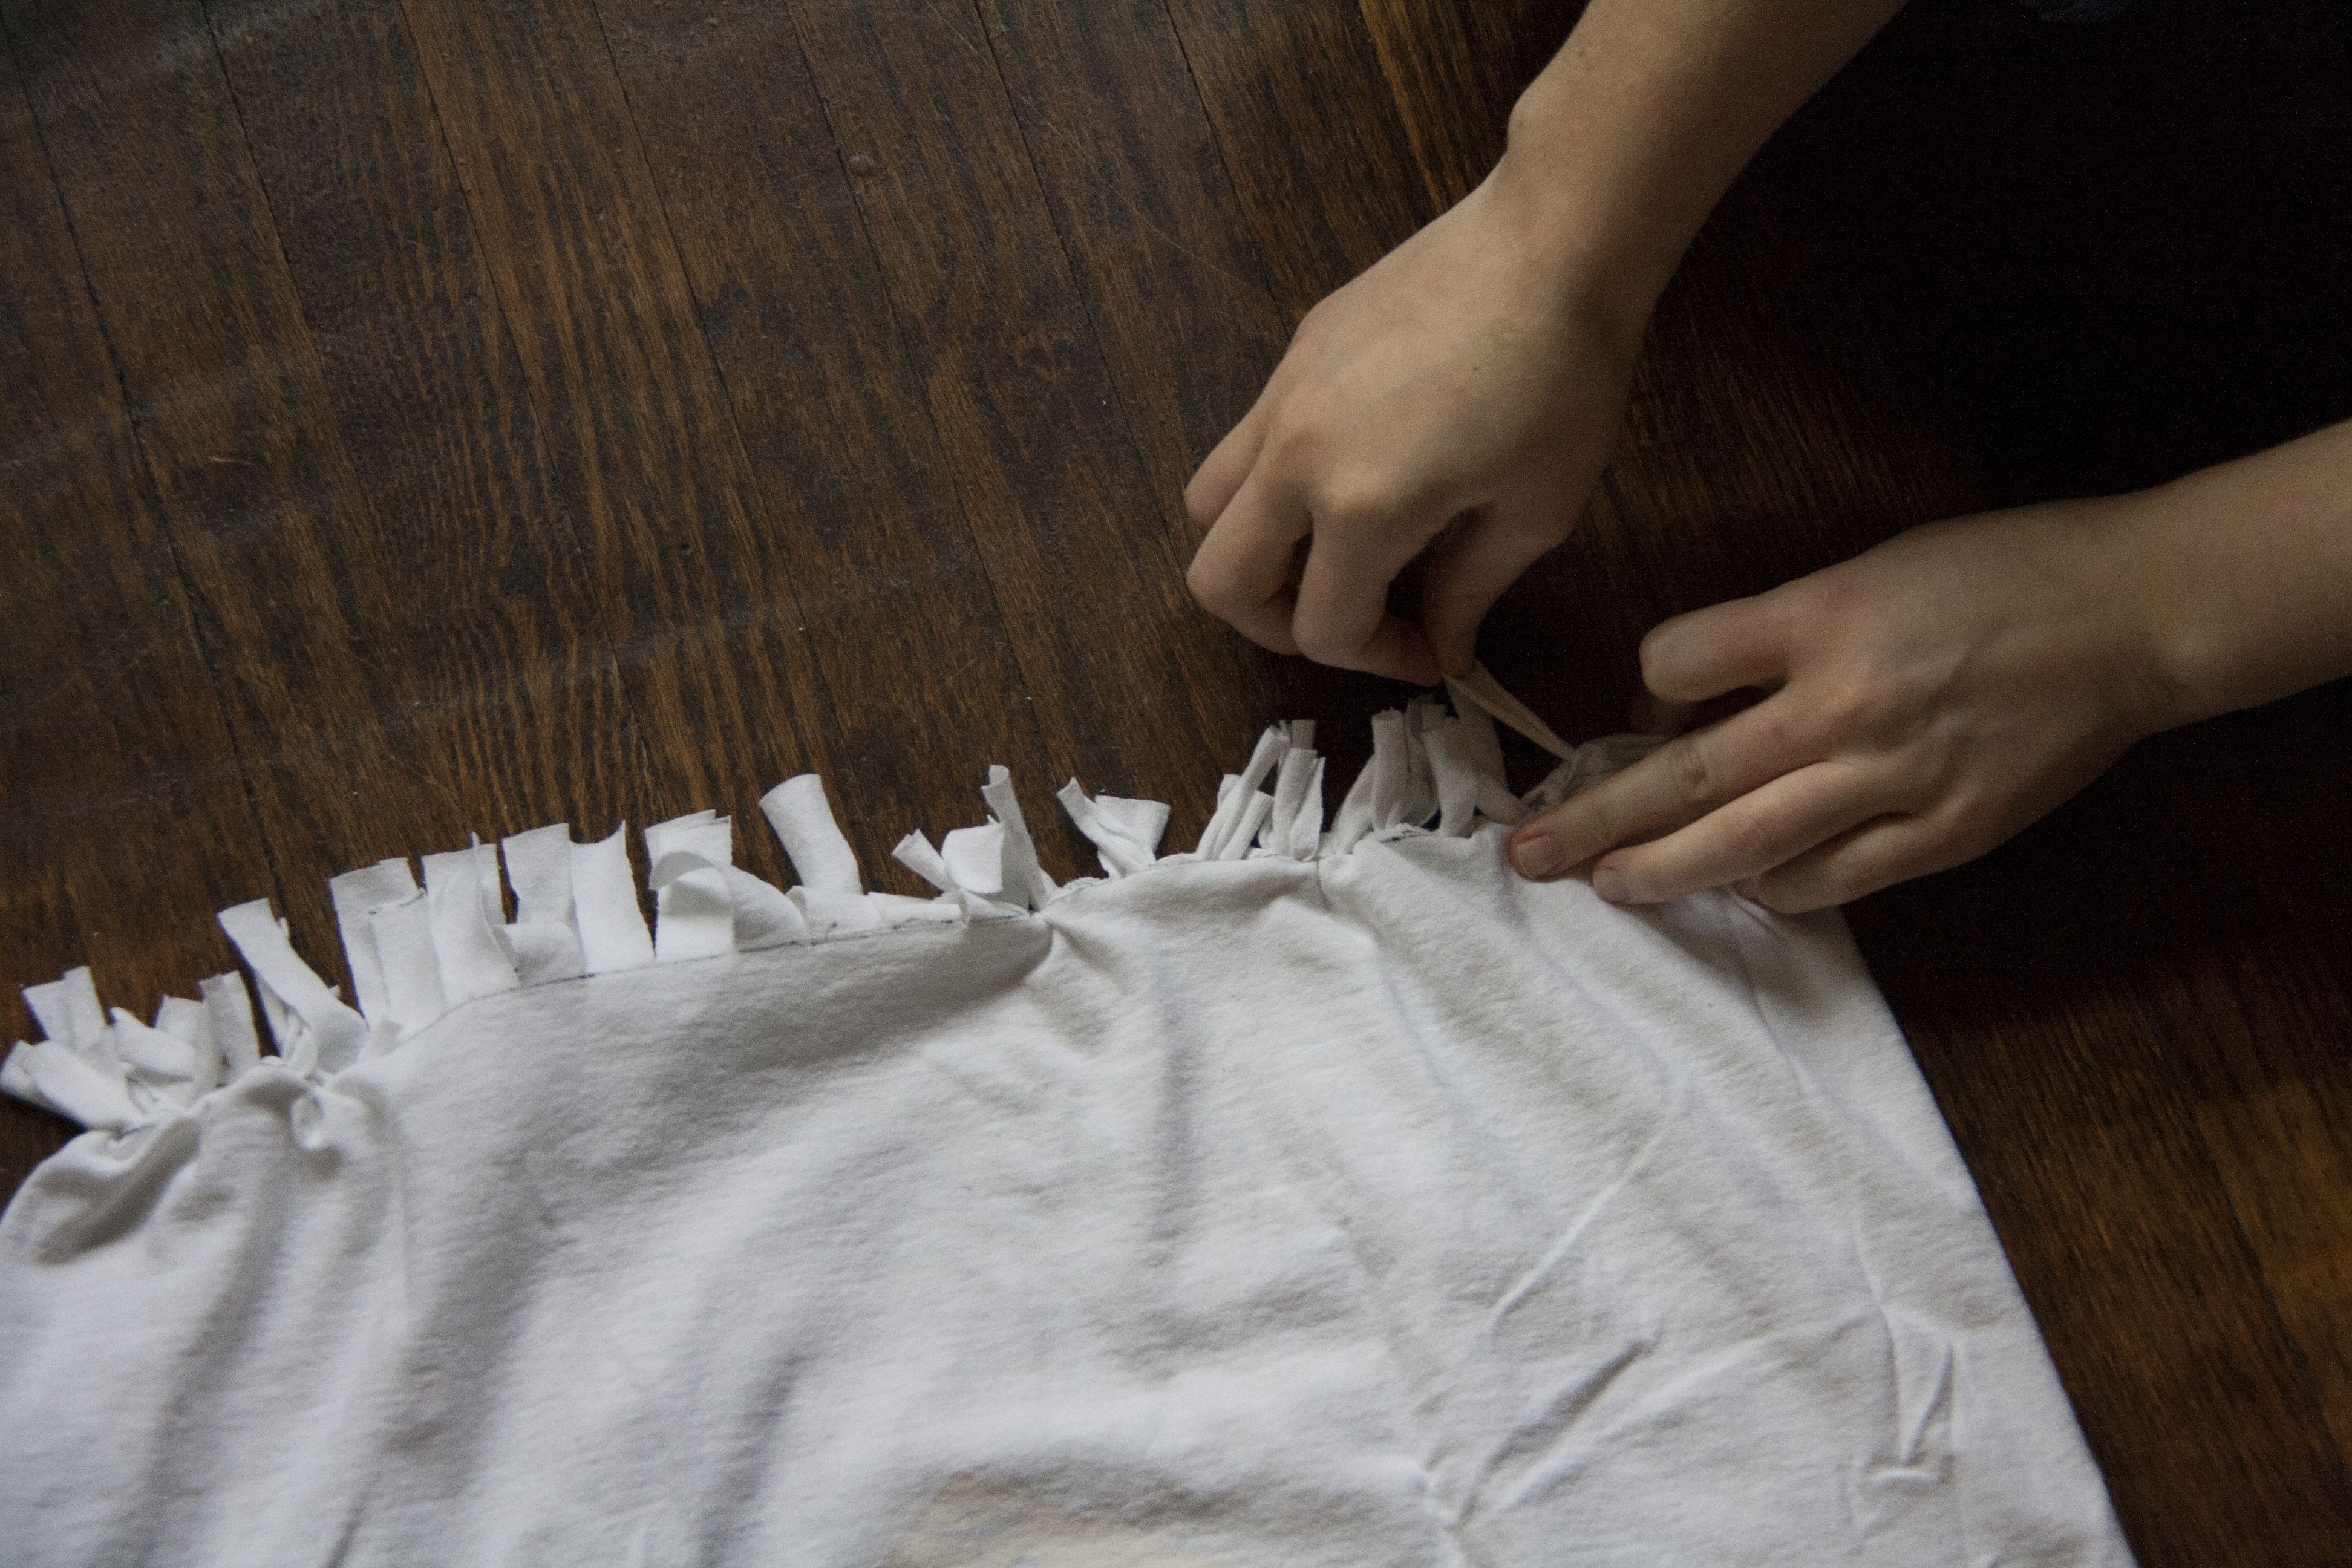
Step 4: Turn the shirt inside out and draw a line about an inch from the hem. Begin cutting the hem in approximately 1/4″ increments up to the drawn line. These fringed pieces should line up on the front and back of the shirt.
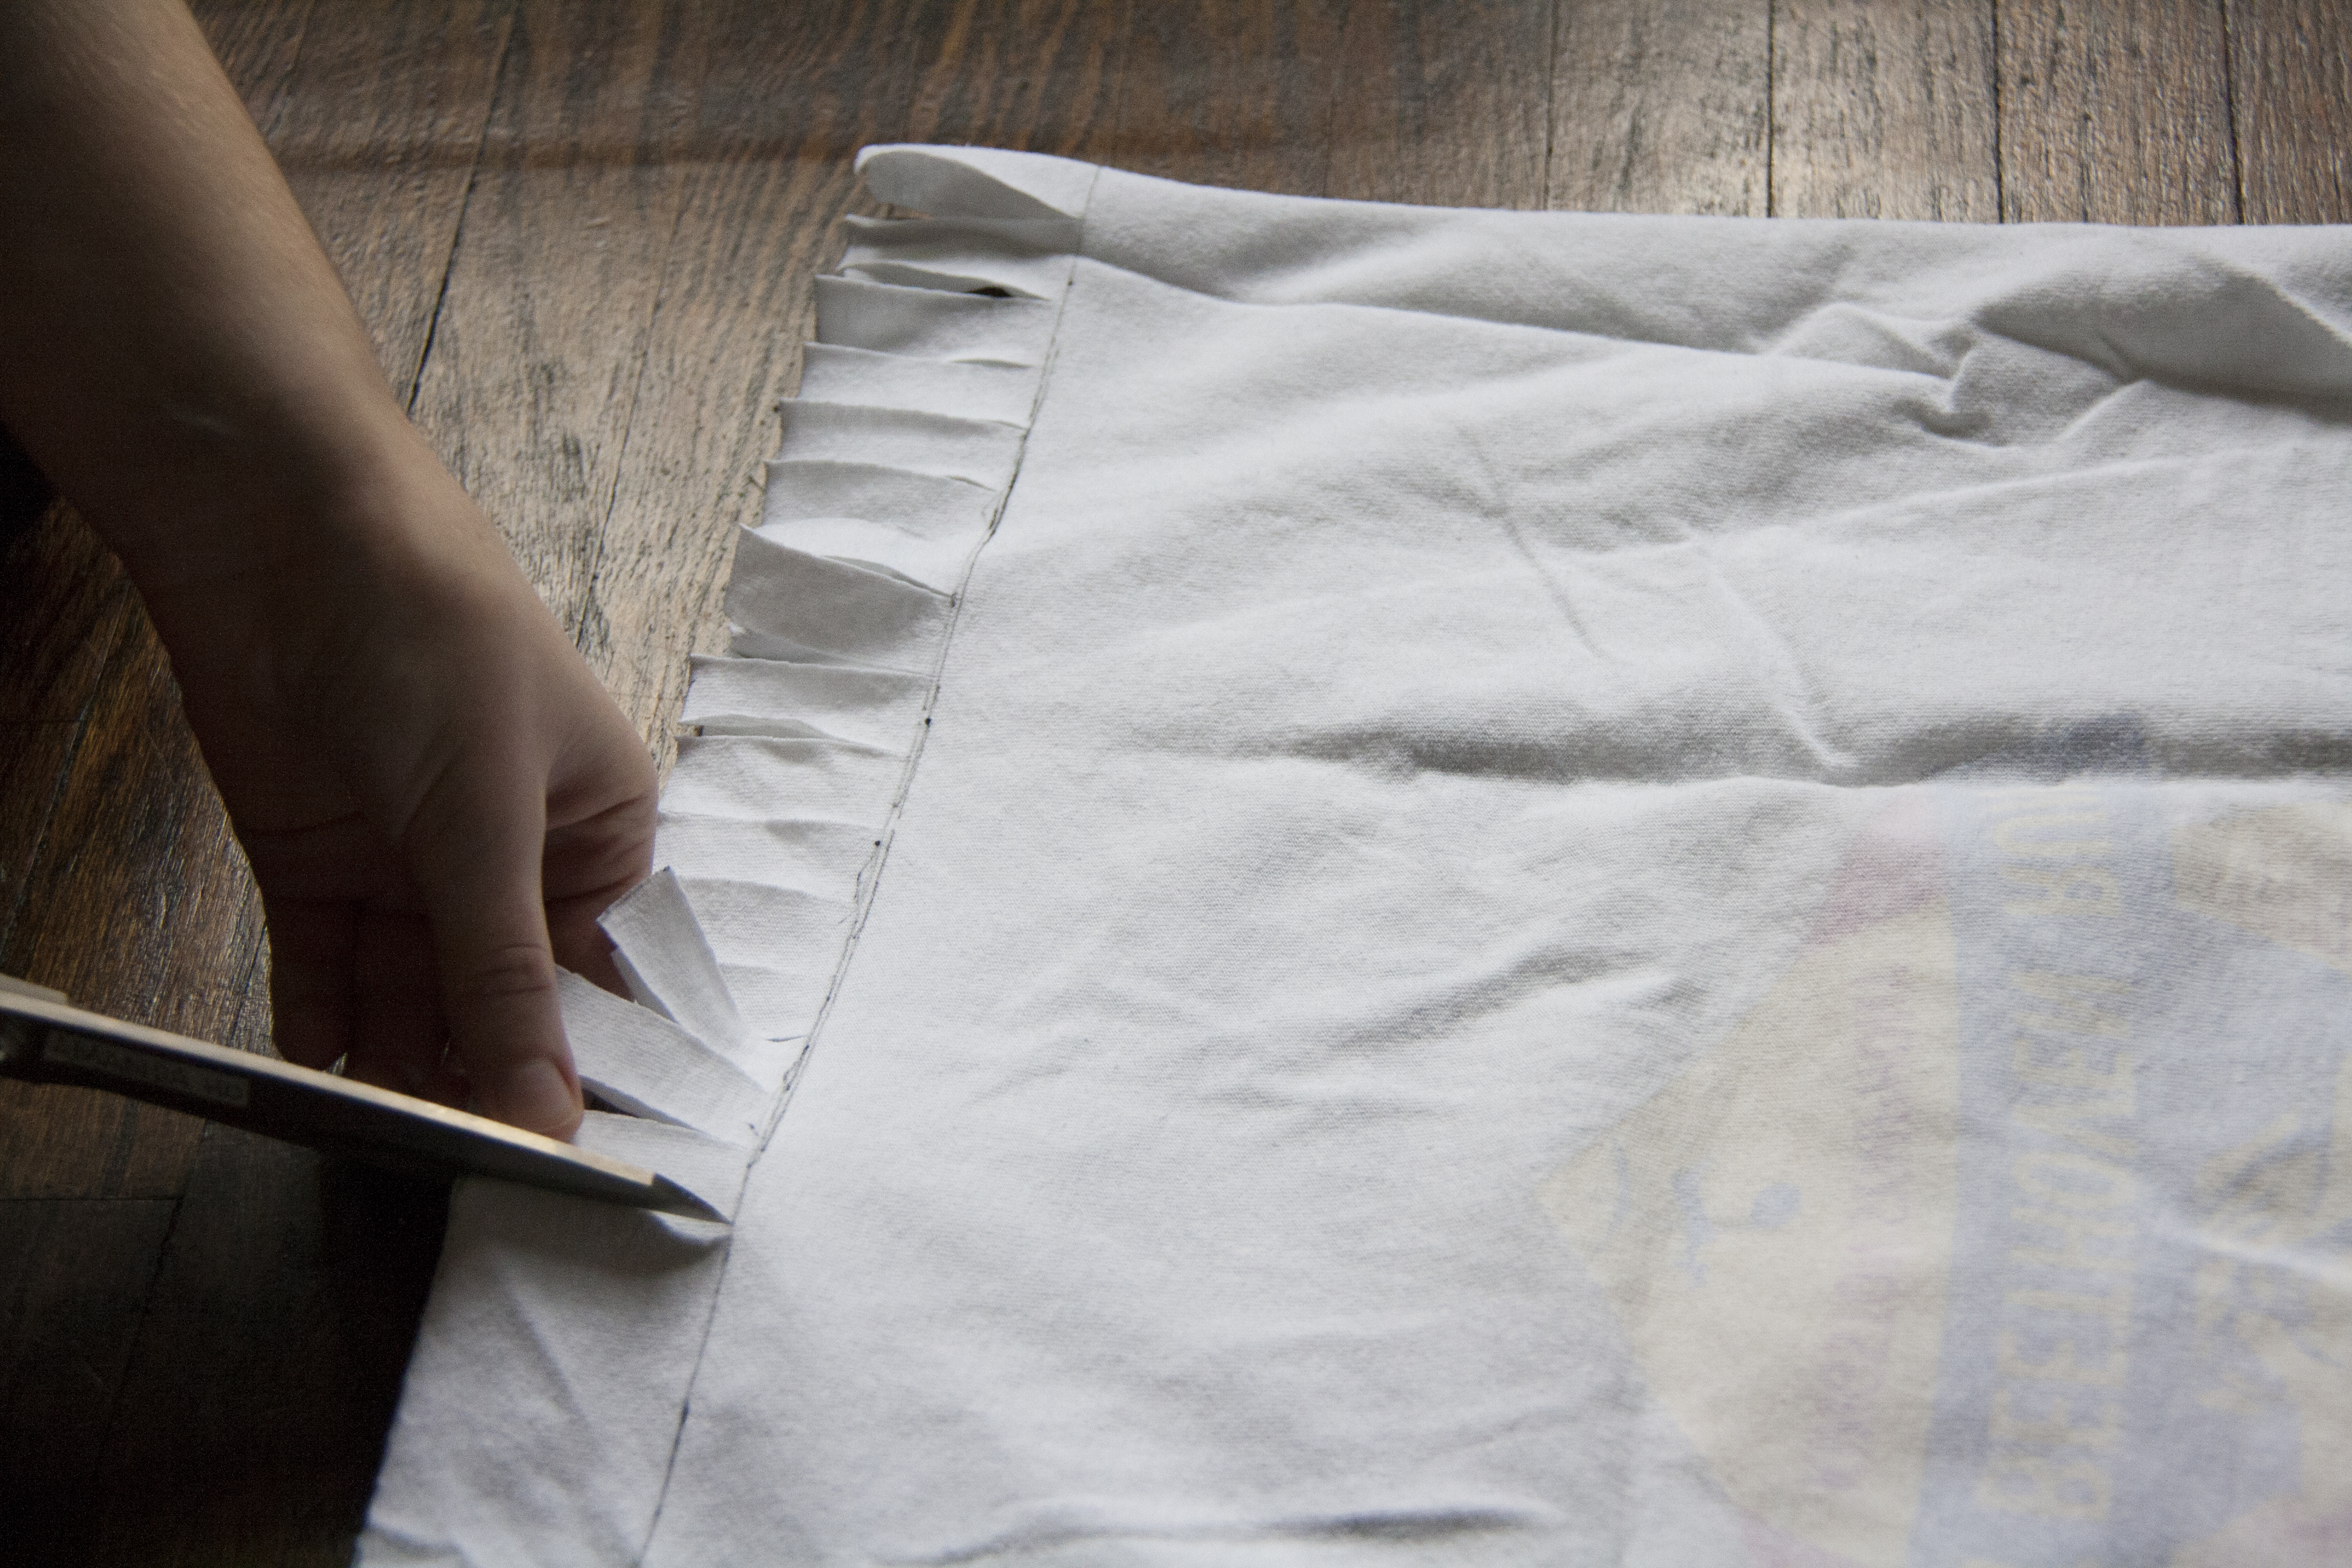
This is what it should look like:

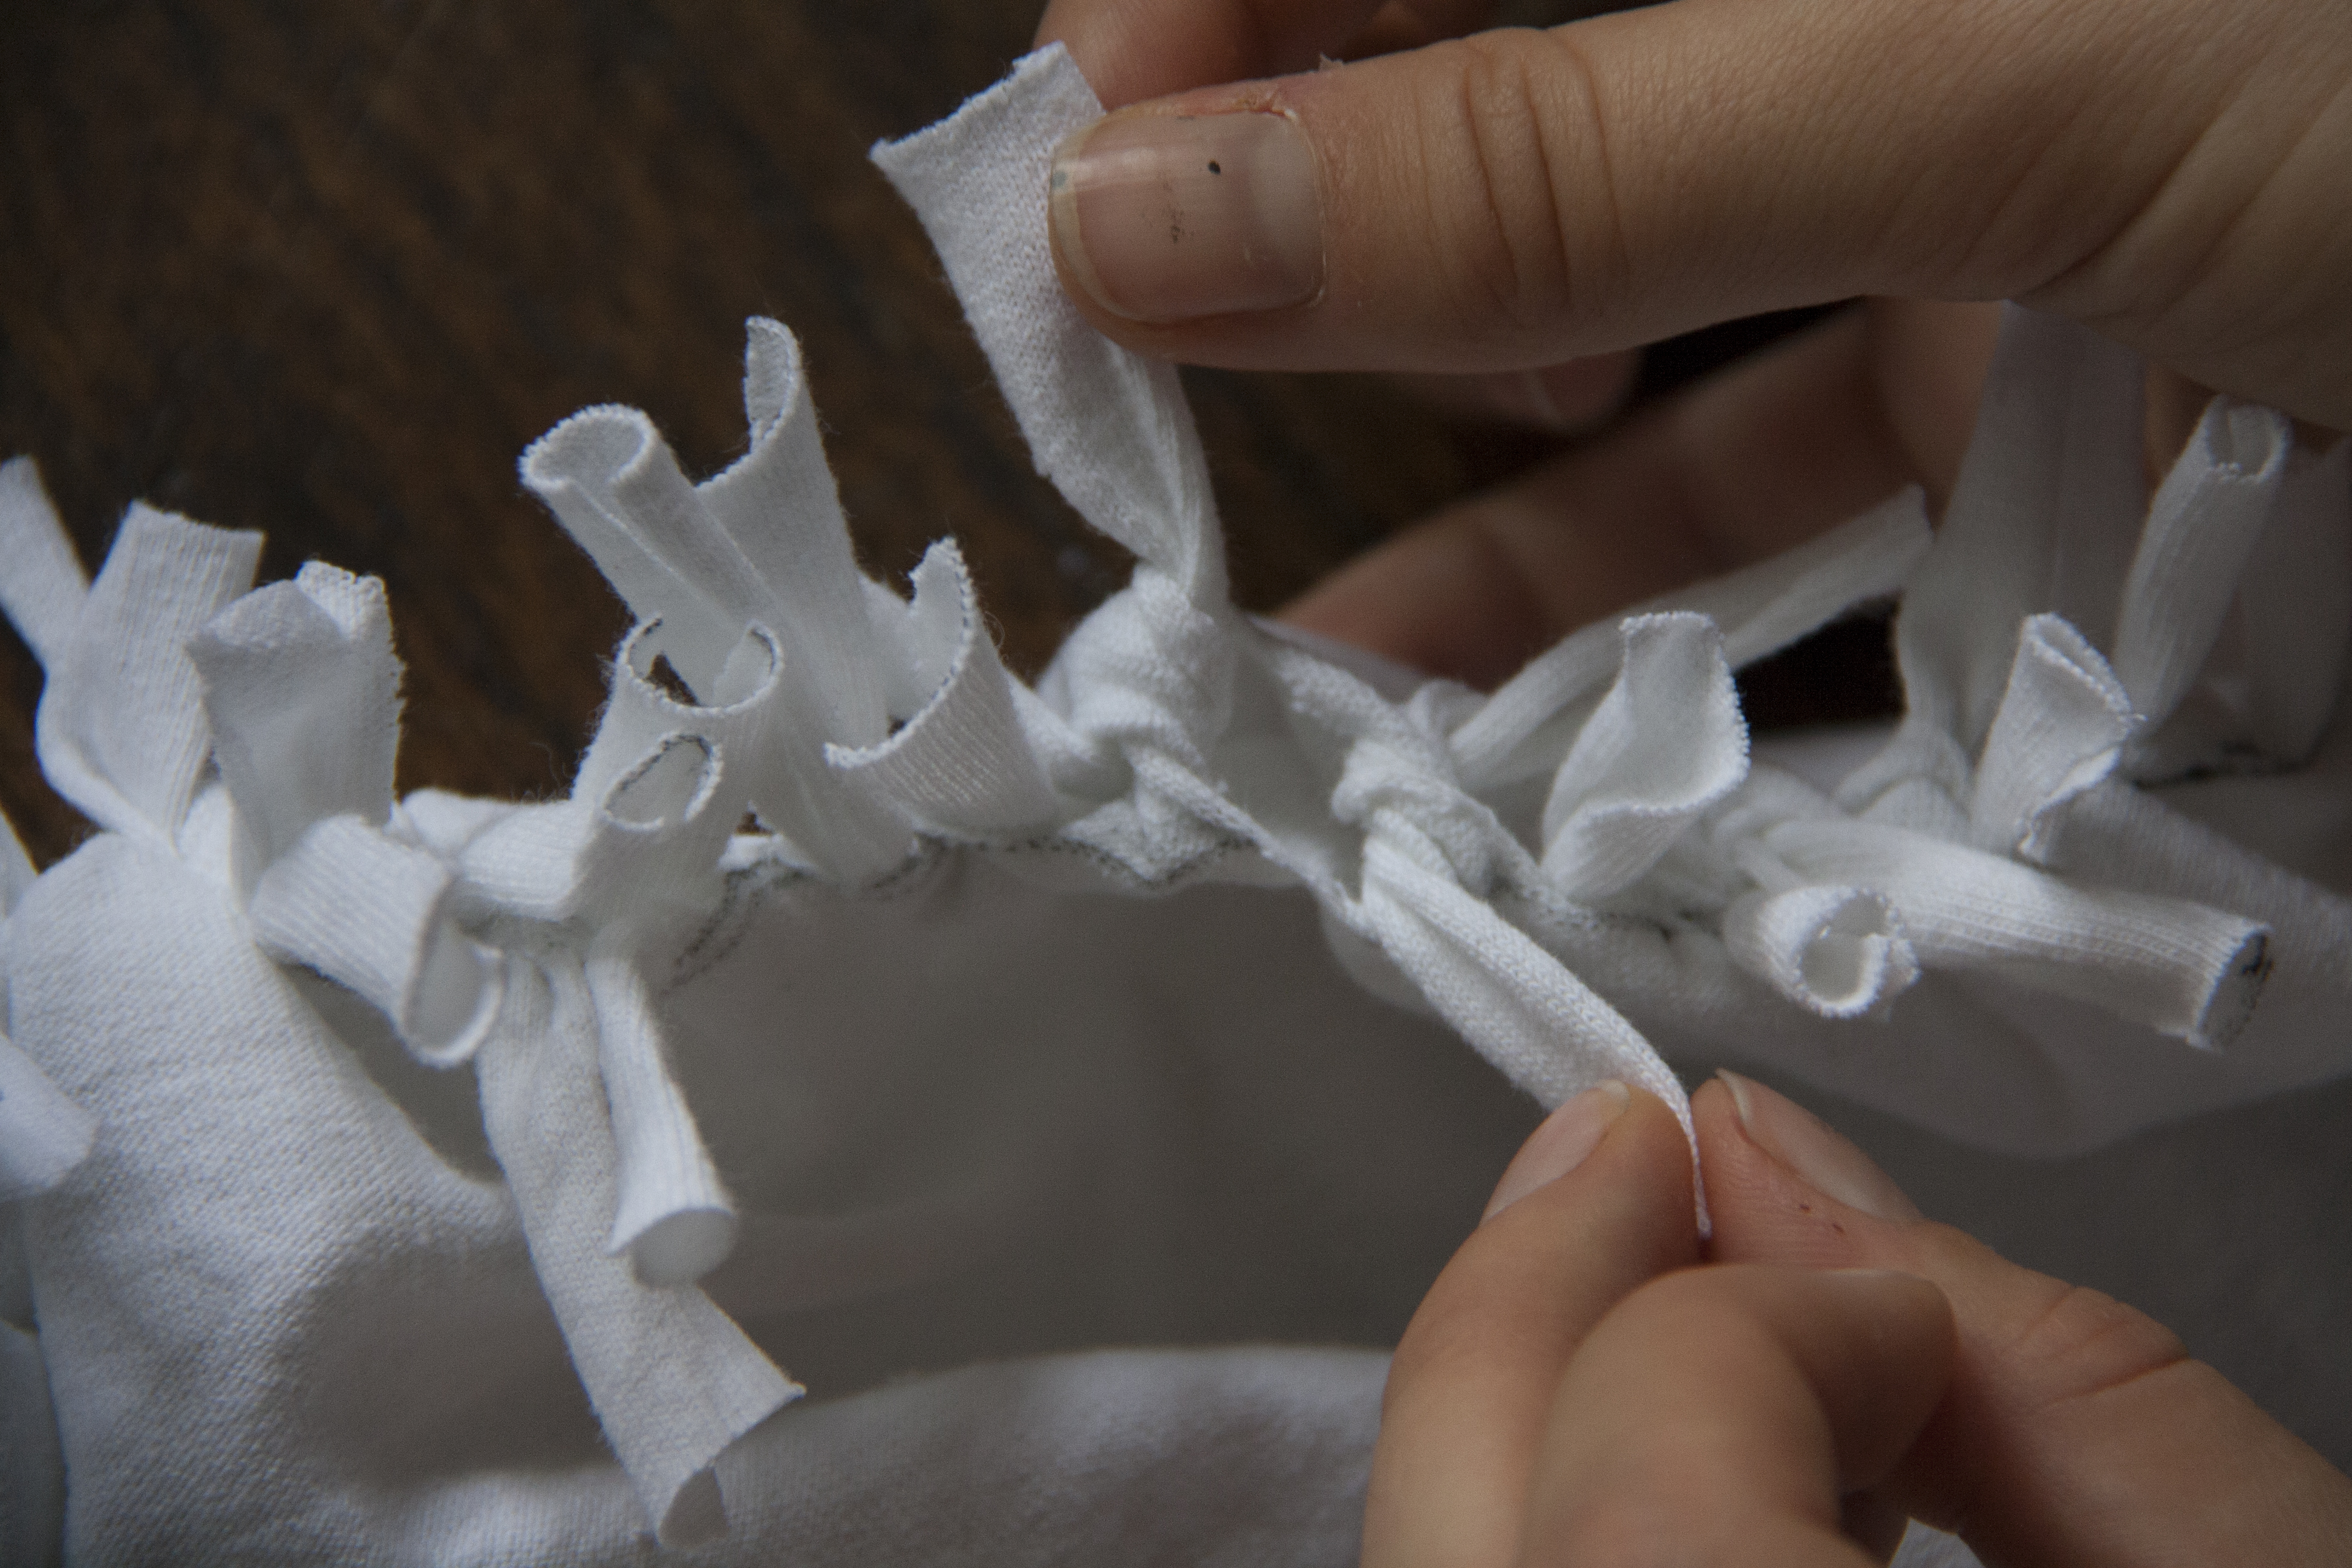
Step 5: Tie the fringed pieces together (top piece to bottom piece).
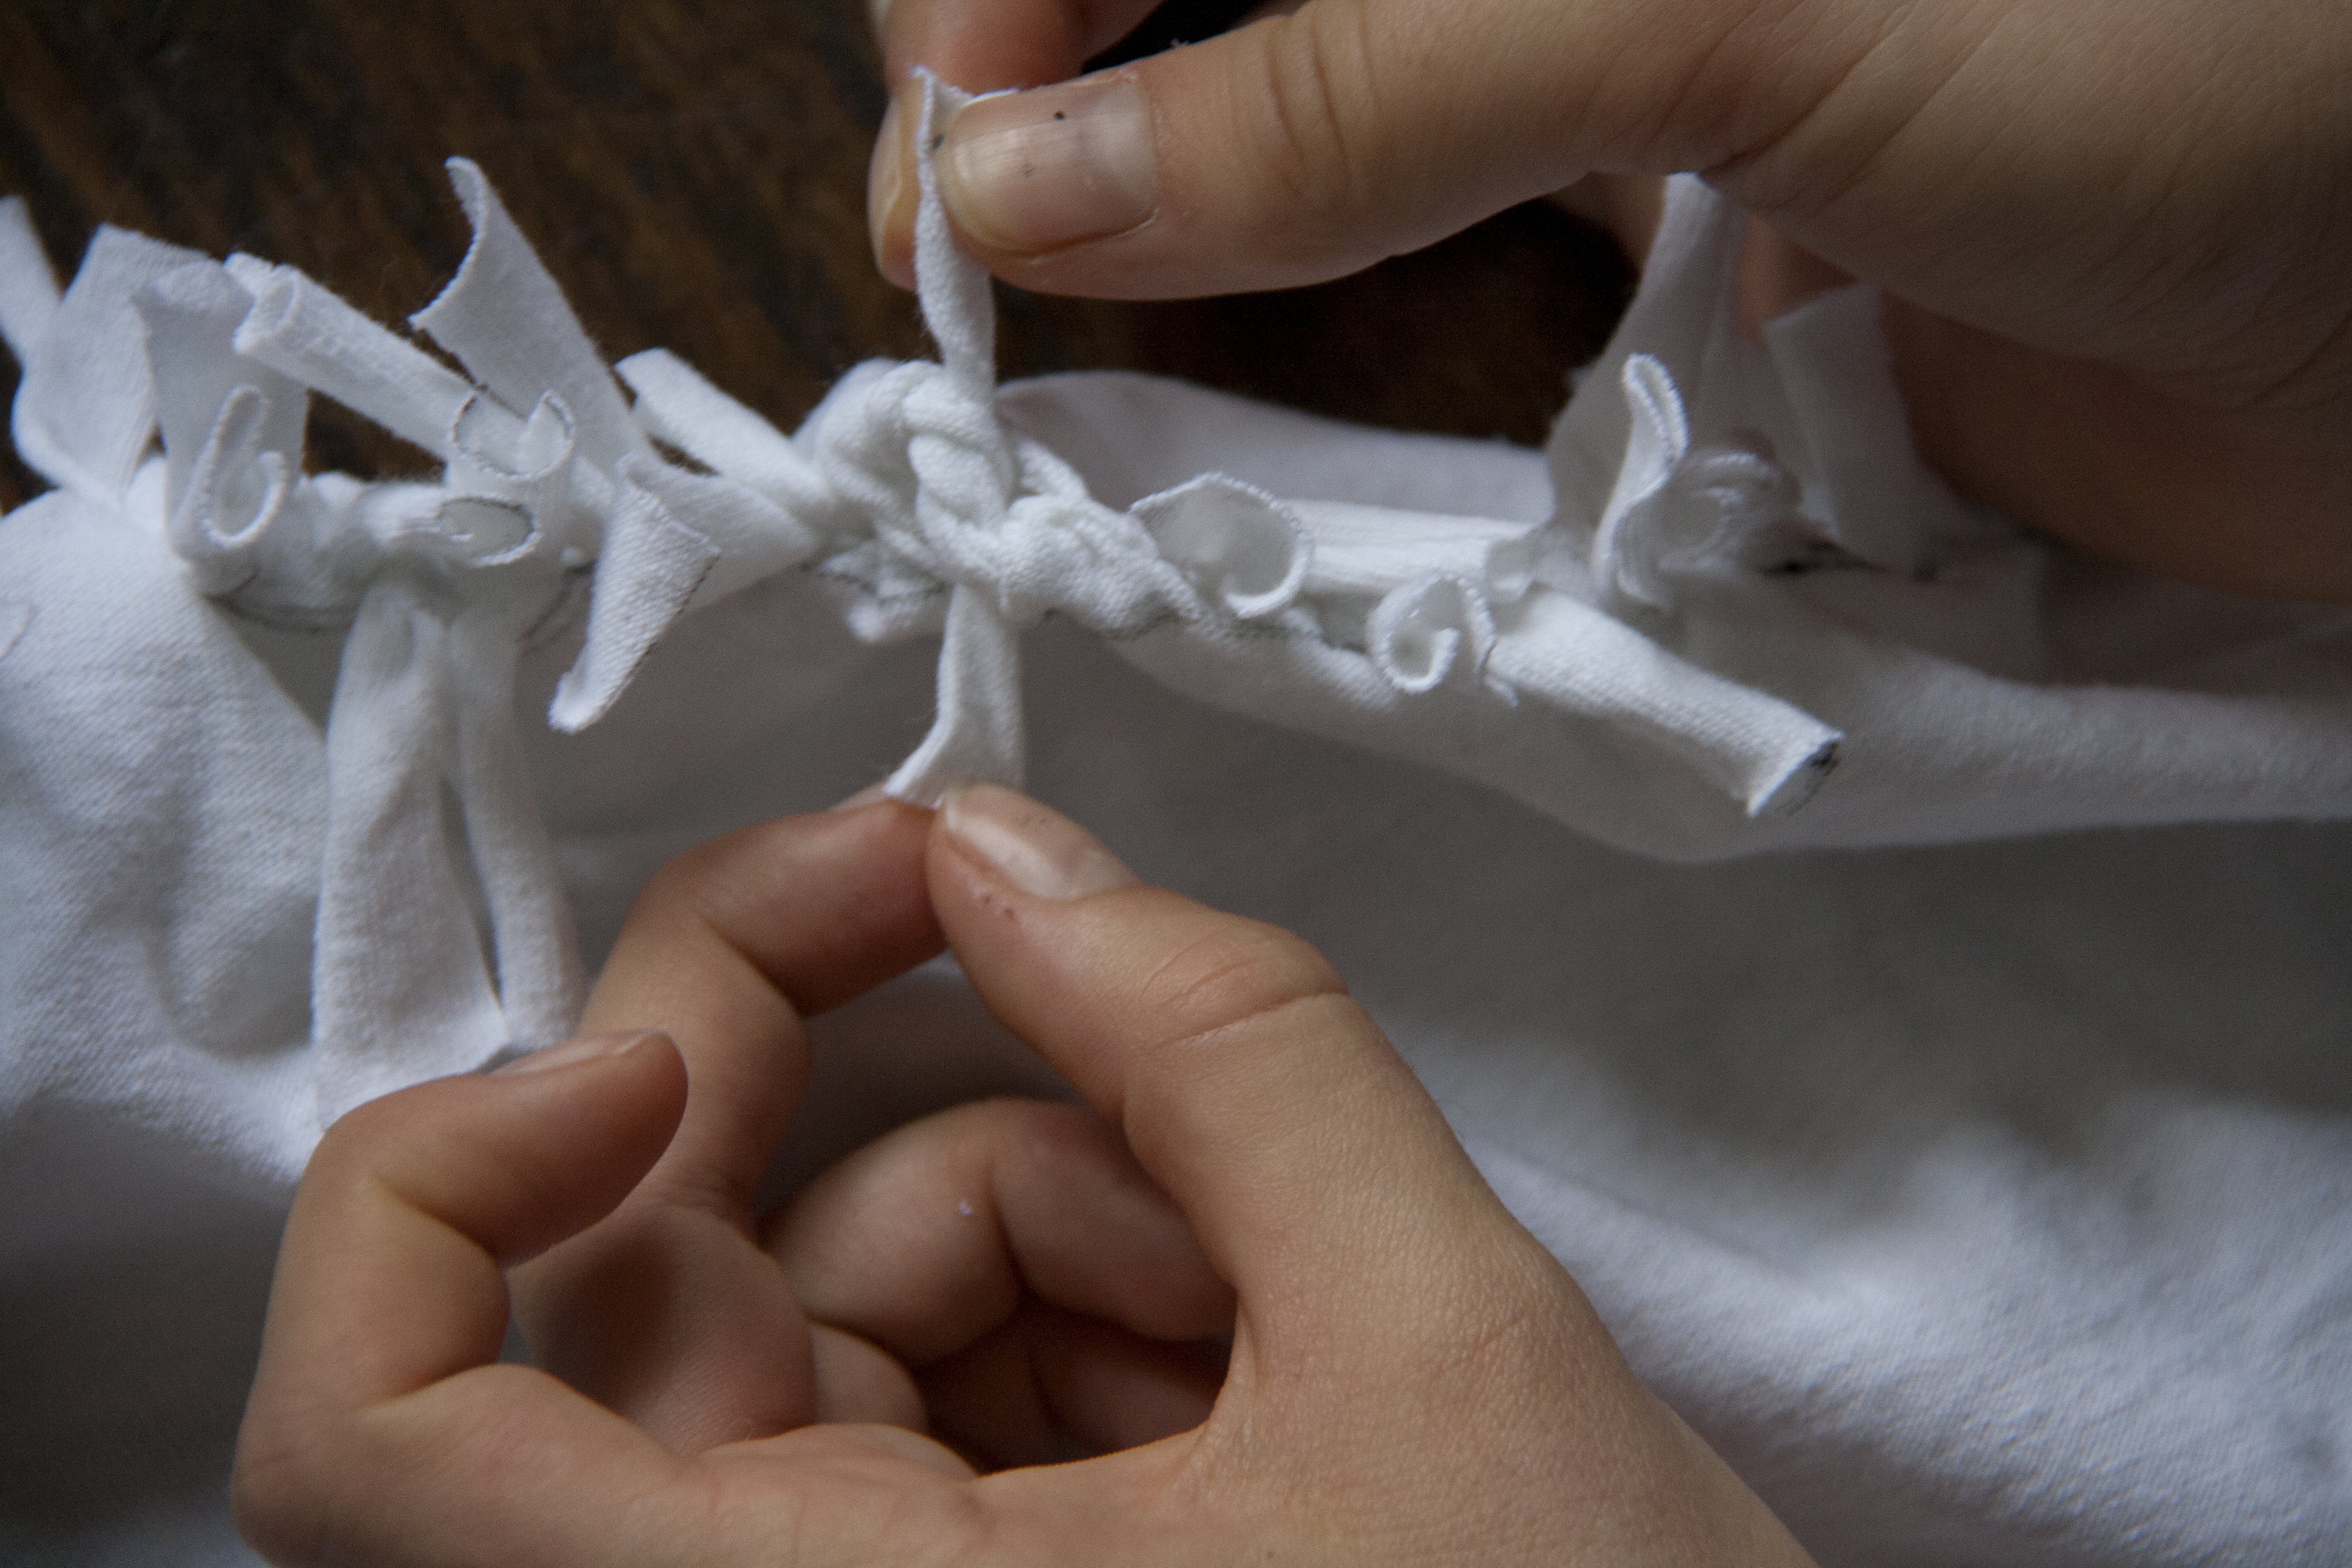
Step 5: Now that the hem is knotted, you will notice that between each knot there is a hole. Take a strand from one knot and a strand from the knot next to it and tie them together to fill in the gap. Continue this until all holes are blocked and your tote has a sturdy base.
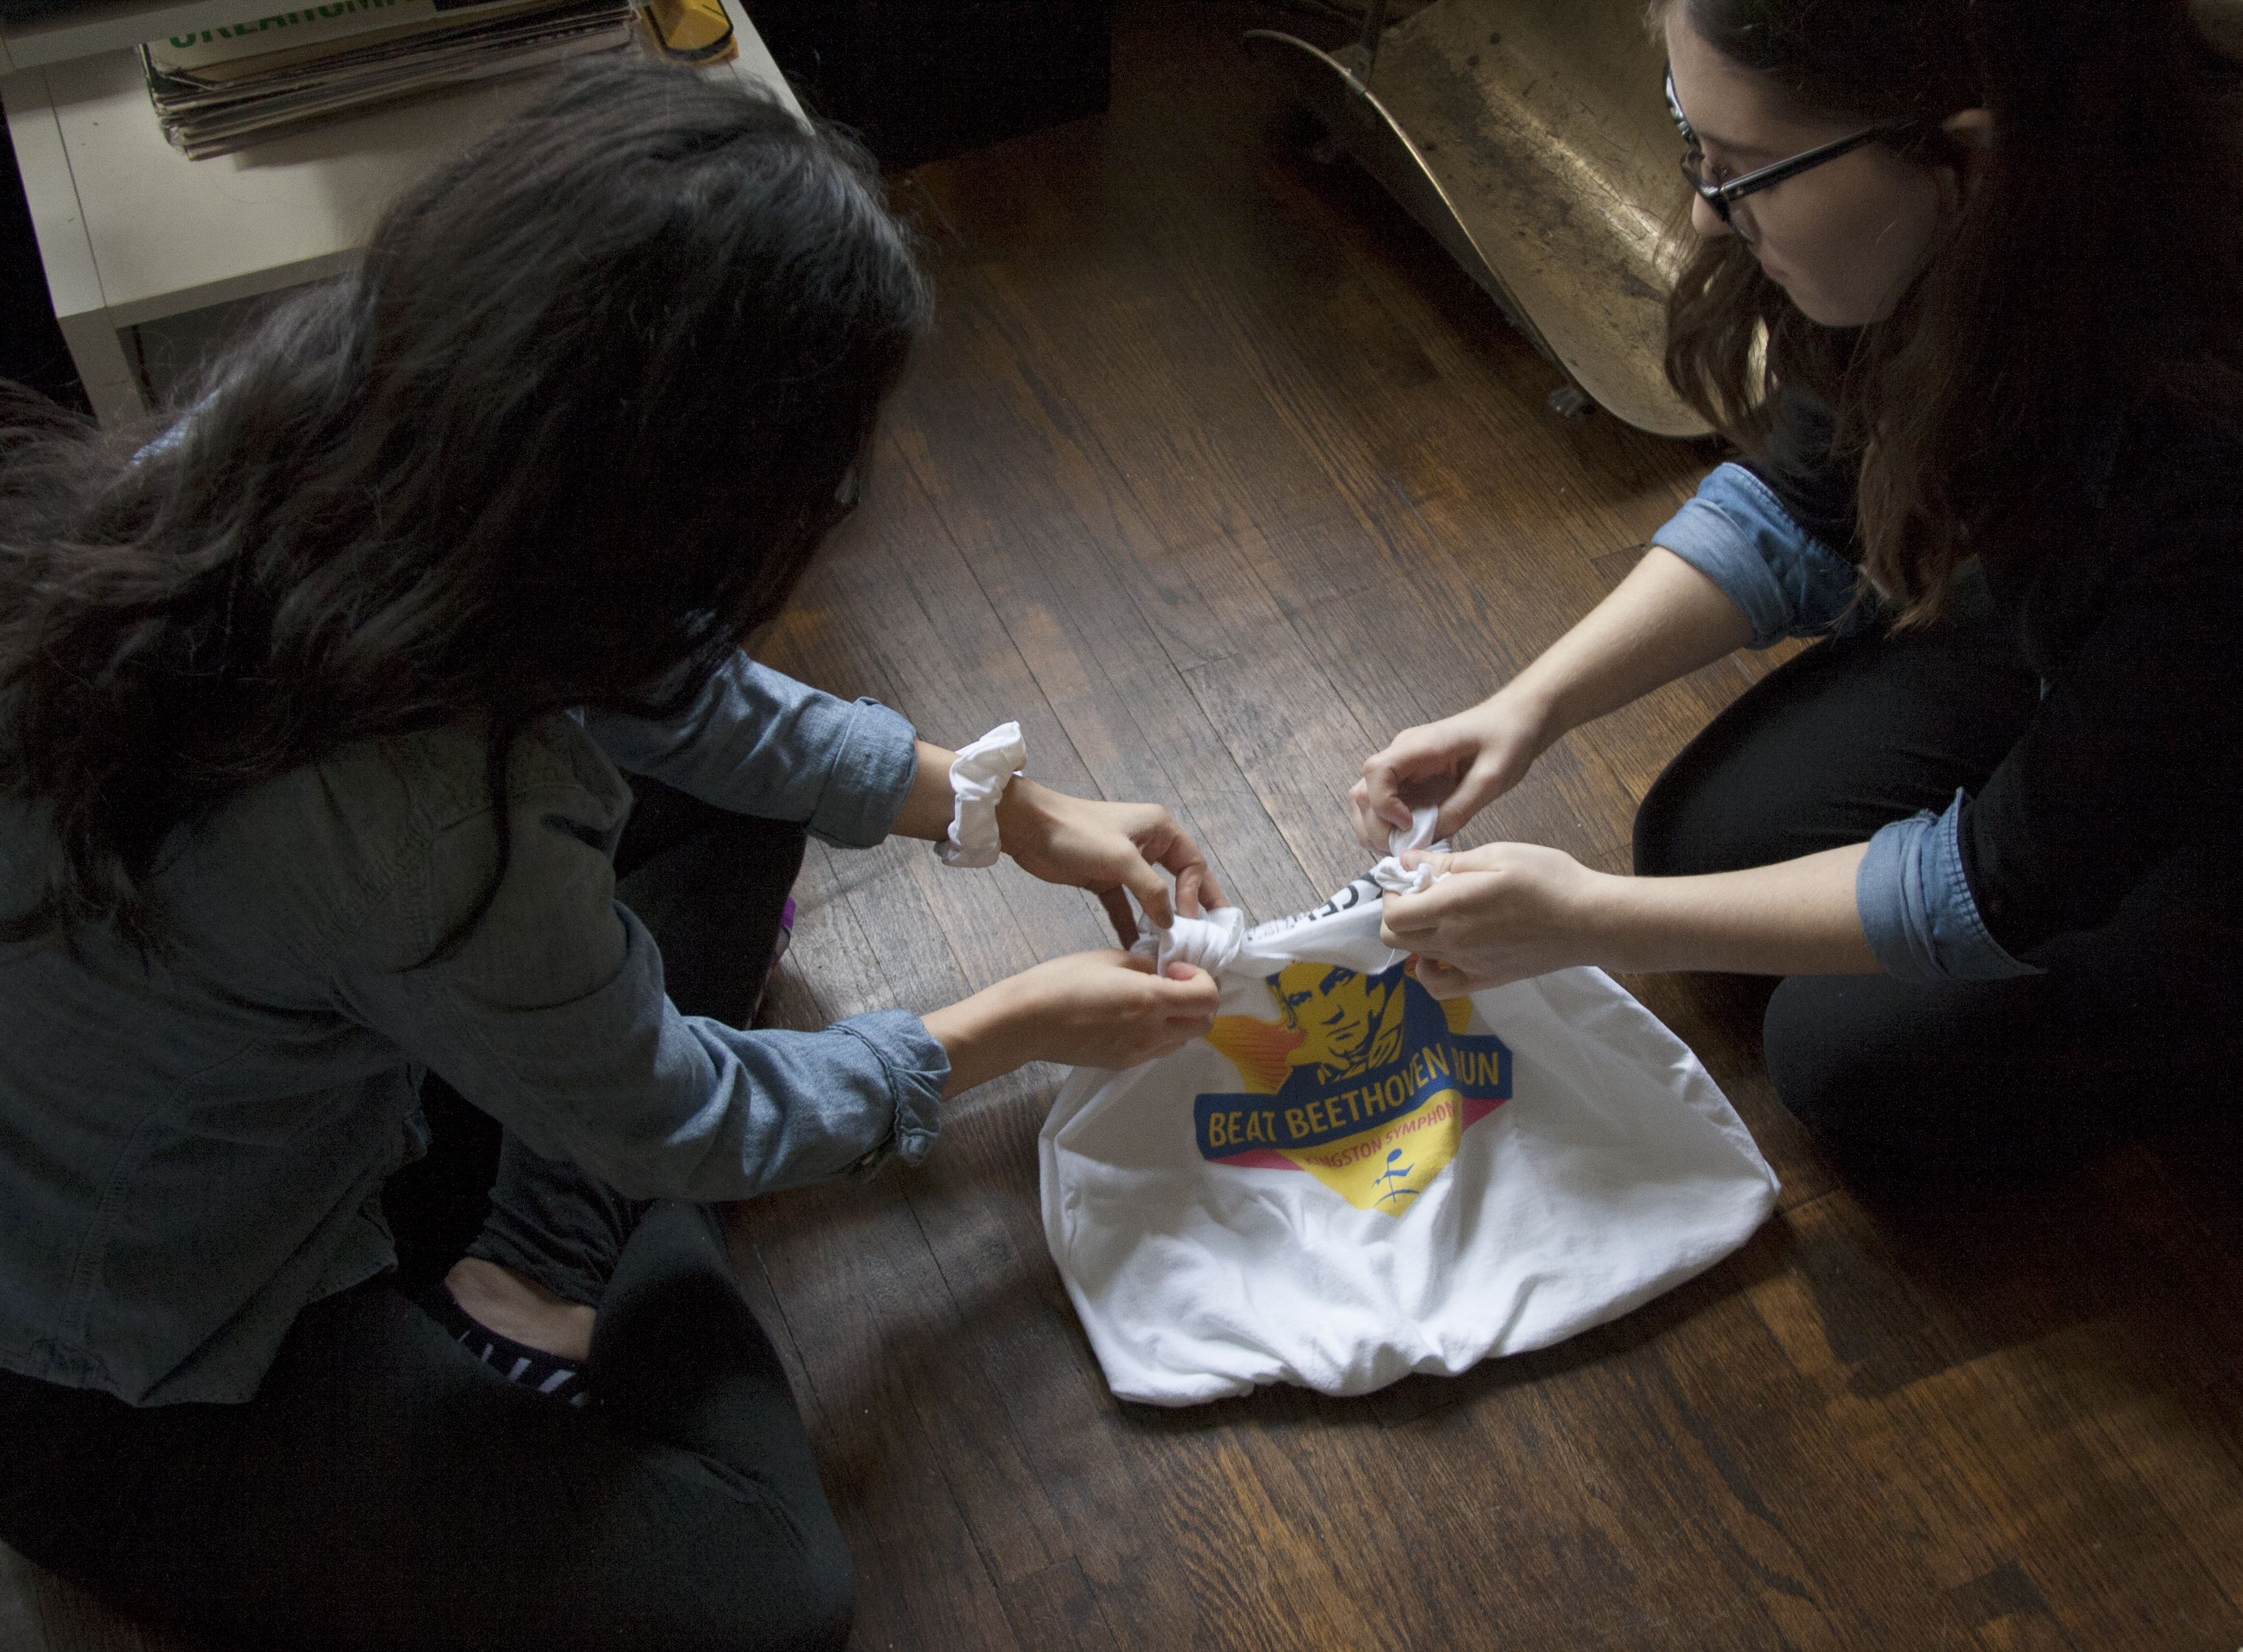
Step 6: Turn the shirt right side out. You can leave the bag as is or make modifications to the opening and straps. We decided to continue, using the extra fabric to add some fringed embellishments to the straps.
There you have it! A simple no-sew tote bag that can be customized or embellished any way you like.


By Hannah Dobbie